

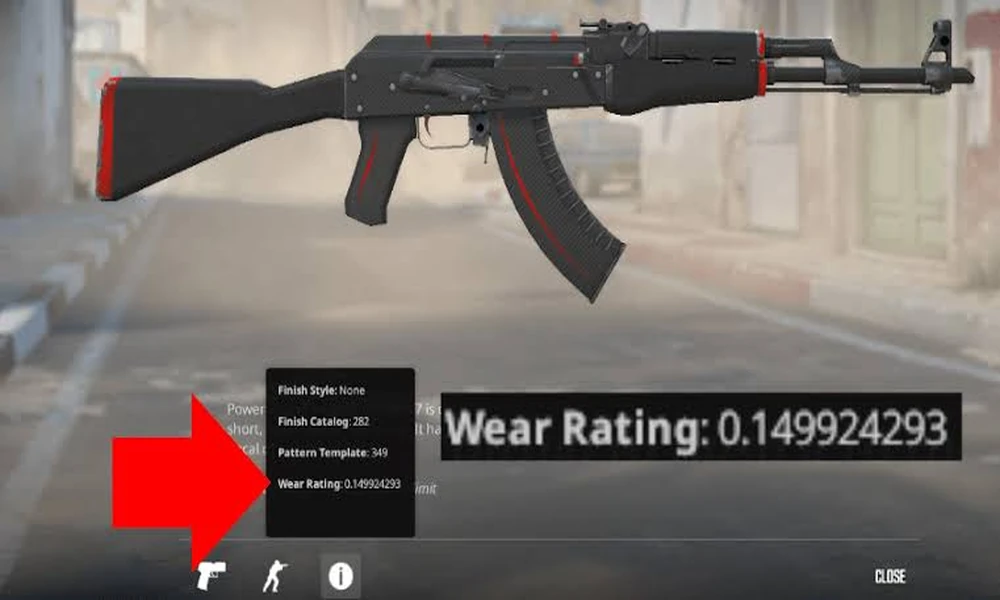
Floating values are numerical indicators assigned to every skin in CS2, sitting within a range of zero to one. Zero represents the cleanest possible surface condition, while one reflects maximum wear. The value each skin receives is not a separate calculation and it resolves at the exact moment the skin is generated during a round. Within an active case battles session, this means every drop arrives with its wear condition already attached, visible immediately alongside the rarity grade in real time.
No player input affects this number. The generation process handles both the skin identity and its float value through the same mechanism, making wear condition a live outcome rather than a post-round assignment. A skin’s float value is permanent from the instant it surfaces and does not change after the round concludes. Players observing multiple drops across a session will notice that float values rarely cluster around a predictable range, reinforcing that each result is independently resolved rather than distributed evenly across the round.
How wear ranges are mapped
The five conditions a skin can carry –
- Factory New
- Minimal Wear
- Field-Tested
- Well-Worn
- Battle-Scarred
Where a float value lands within a skin’s permitted range determines which of these conditions appears on the item. Two skins from the same rarity tier can display entirely different conditions depending on how their individual float ranges are structured within the game.
This is a detail that catches many players off guard. Not every skin supports all five conditions. Each skin carries its own defined float ceiling and floor, meaning some items are structurally incapable of appearing in Factory New or Battle-Scarred regardless of what value is generated. A covert skin does not automatically produce a clean condition simply because of its rare placement. The float range built into that specific skin is what determines which wear brackets are reachable, and that range is fixed at the item level rather than the rarity level.
Reading float data mid-round
Tracking float values during an active round gives a more layered reading of how a session is unfolding. Rarity grade and wear condition function as two independent variables, and a high-rarity drop in poor condition represents a fundamentally different outcome from the same skin at low float, despite sharing identical tier classification.
- A covert skin at 0.03 float and the same covert skin at 0.71 float are not equivalent outcomes, even though both carry the same rarity grade.
- Mid-rarity skins with low float values can outperform higher-rarity drops carrying poor wear conditions in terms of visible item quality.
- Float data read alongside rarity grade produces a complete outcome picture rather than a partial one based on grade alone.
Players who track both variables across a round develop a clearer reading of session performance as it progresses. Assessing drops by rarity alone leaves out half the relevant information each outcome contains. A single float number defines the precise wear state of a generated skin, reflects the float architecture of the case it came from, and sits alongside rarity grade as an equally present variable in every result. Reading it accurately during an active round turns a raw numerical output into a practical and immediate measure of what each drop genuinely represents within the session.
